
The Krystowski Minnow is one of my early original fly designs. I began tying this fly long before I was part of the fly fishing industry and a contract fly designer. It was at a point in my life when I had very limited time to spend behind a vise and, more influentially, when I had very little money to spend on tying material. I needed an all-purpose baitfish streamer that I could use for every occasion. I could not afford to have multiple fly boxes for every species of fish, but I was fishing everywhere and often. I needed a fly for river smallmouth, farm pond largemouth, Spring steelhead, Fall browns, wiper, walleye and northern pike. If I had a handful of Krystowski Minnows in my box I was all set. The fly needed to be cheap to tie, fast to tie and never fall apart...even after being chewed on by northern pike. I have old fishing buddies back in my home town who fish this fly over everything else. The fly is named after a family in northern Ohio who owned a small bass pond and would let me fish and invite me in for dinner. The earliest prototypes of this fly were fished in their pond.

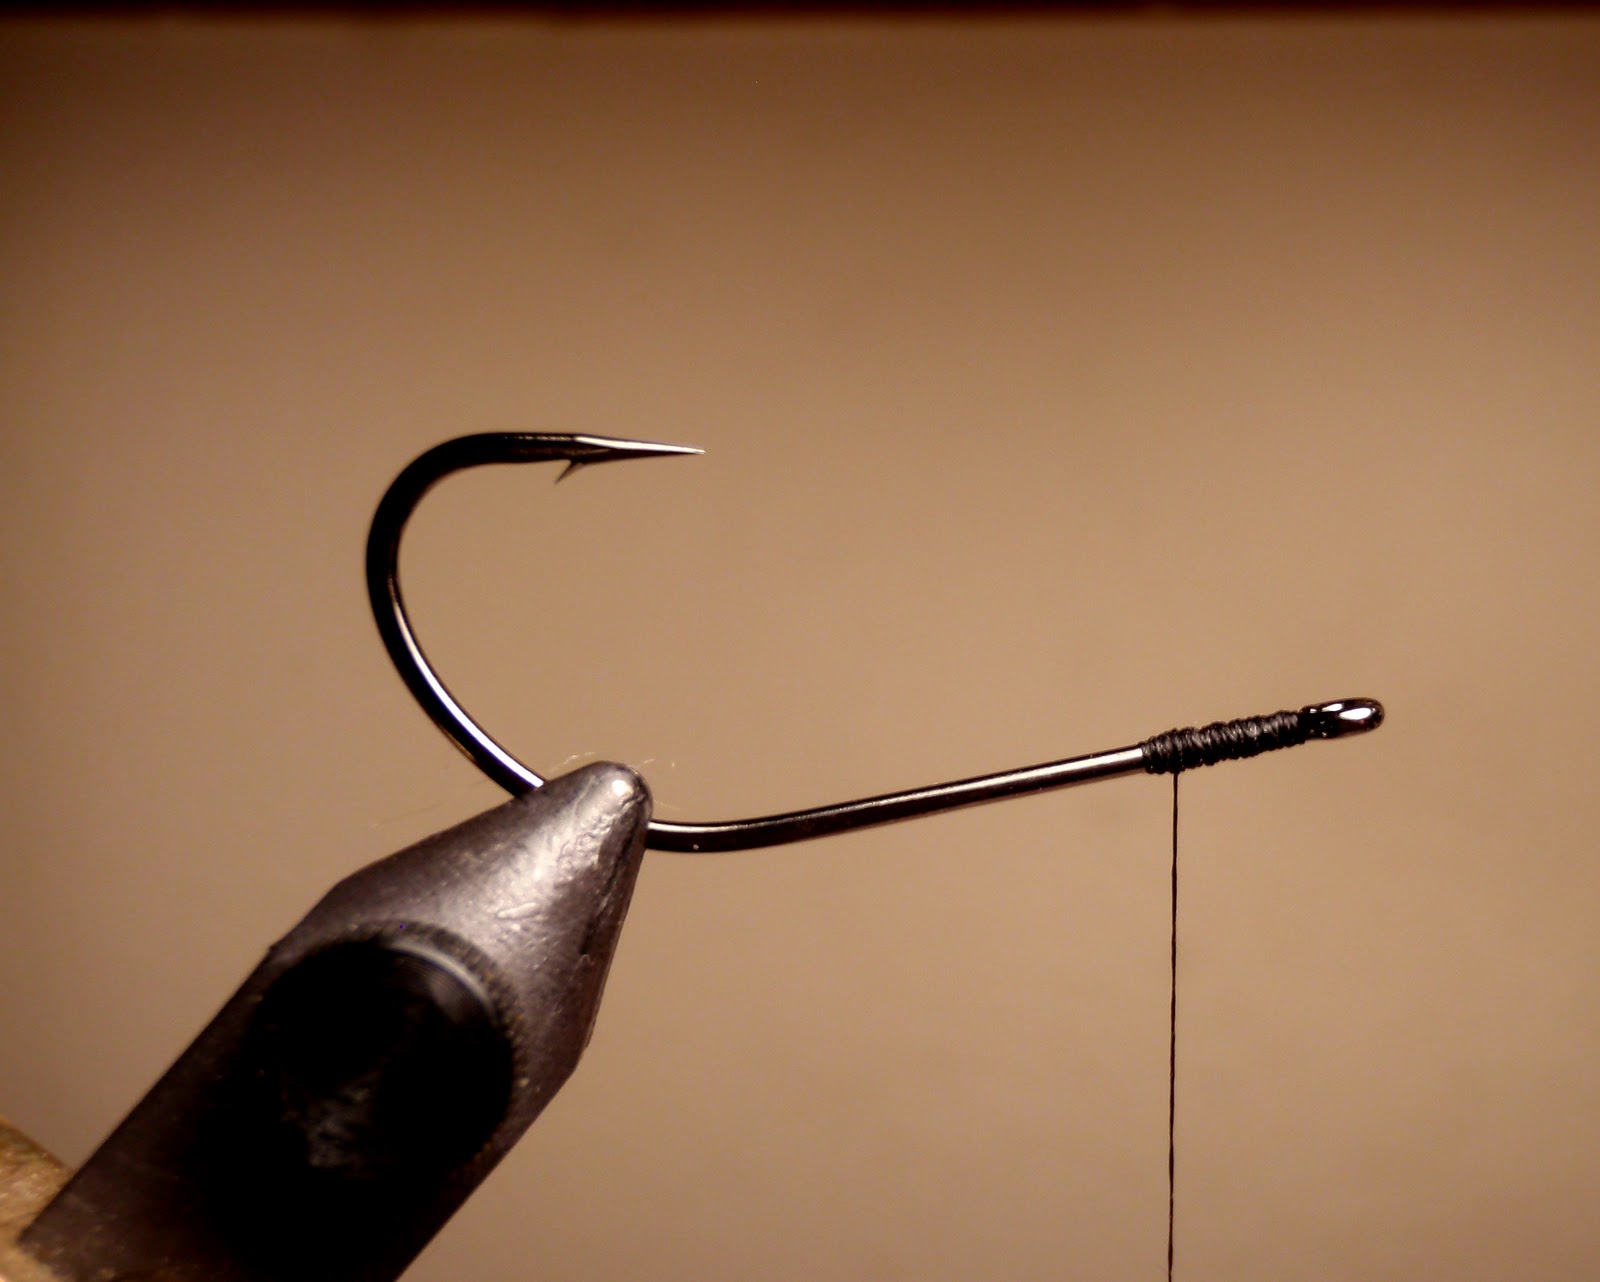
Begin with Gamakatsu B10S #2 hook. Create a ¼ inch thread base of black 6/0 UNI-Thread behind the hook eye.
Step 2: Tie in a clump of white Icelandic Sheep to “bottom” of hook shank.
Step 3: Tie in a clump of chartreuse Icelandic Sheep on “top” side of hook shank.
 Step 4:
 Securely mount ex-small white painted lead dumbbell eyes to “bottom” of hook shank. It is important that you wait until this point to tie in the lead eyes. Because the eyes are ex-small (this fly fishes best as a light-weight streamer) it is crucial there be distance between the arbor of the lead eyes and the hook shank. This ensures the fly swims hook point up.
Step 5: Tie in a clump of black Icelandic Sheep on top. Be sure to leave several inches of the black sheep hair extending out past the hook eye.
Step 6: Take the black sheep hair clump that you left extending past the hook eye and part it evenly. Be sure to leave the thread at the rear of the fly head.
Step 7: Wrap each piece of the black sheep hair back separately (being sure to cross between the lead eyes) and tie off and trim.
Step 8: Wrap black tying thread thoroughly over entire head of fly, being sure to secure any loose sheep hair and give the entire head an overall tightening. Then whip finish twice for durability and trim thread.
Step 9: Cut fly down to 2 ½ inches long (trim up the end nice and tapered). Then apply multiple coats of head cement over entire head, to include the painted lead eyes. I prefer at least five coats of Hard-as-Hull.


 Step 4: Securely mount ex-small white painted lead dumbbell eyes to “bottom” of hook shank. It is important that you wait until this point to tie in the lead eyes. Because the eyes are ex-small (this fly fishes best as a light-weight streamer) it is crucial there be distance between the arbor of the lead eyes and the hook shank. This ensures the fly swims hook point up.


No comments:
Post a Comment
Note: Only a member of this blog may post a comment.