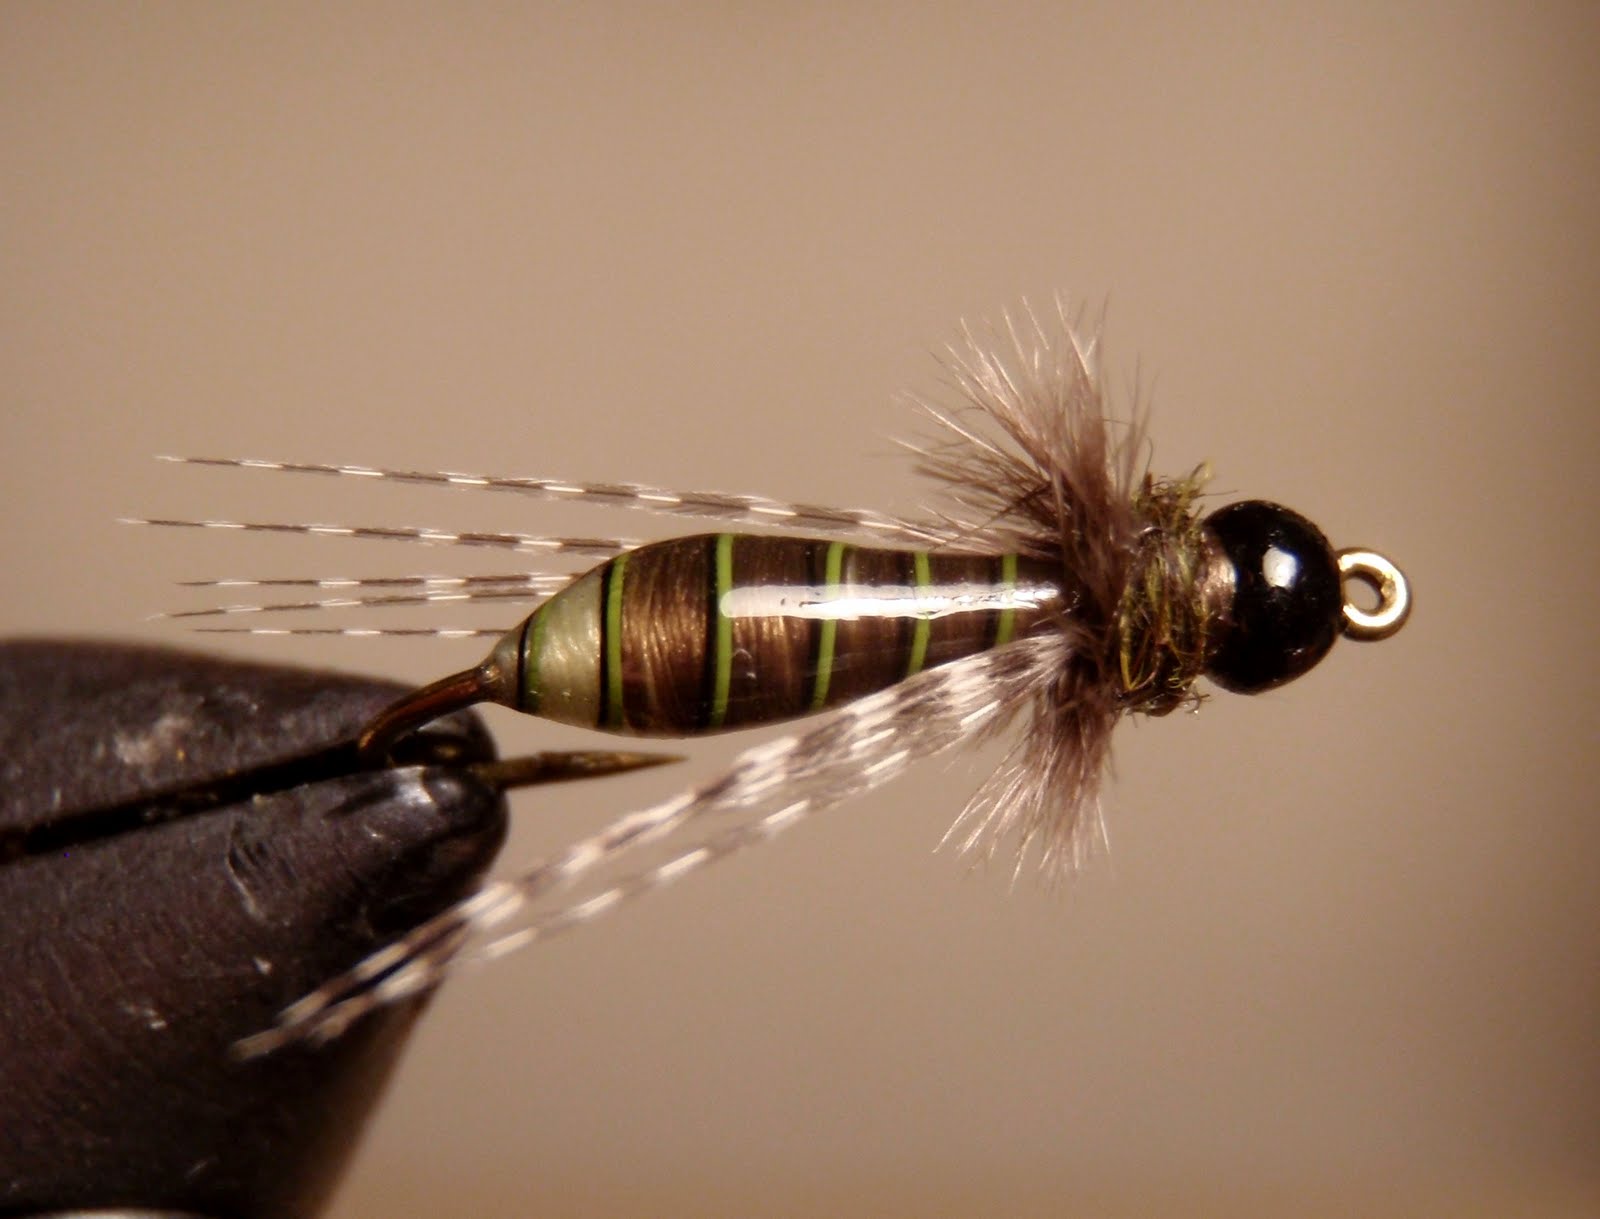
 Banksia Bug
 I began tying this fly to imitate the masses of free-living caddis larva in all my home waters here in Colorado
I have found this pattern to work well in rivers with an abundance of small to medium-size stonefly nymphs…leading me to believe my fly is suggestive enough for trout to mistake it for any number of long-bodied aquatic insects. With this in mind, I am now using this fly in lakes…with equal success! I was hoping it could double as a case maker caddis larva, but have found it works exceptionally well in lakes with a lot of active damselflies.

Step 1: Put appropriate sized black tungsten bead on TMC 200R hook (size 7/64 bead on #14 hook). To tie the Basalt version use a TMC 2499SP-BL hook.
Step 2: Using Lt. Cahill 6/0 Uni-Thread tie in both X-Small black UTC Ultra Wire and Small olive UTC Ultra Wire. Apply small amount of head cement to the wires to “marry” them together.
Step 3: Build a fat butt of the abdomen with the Lt. Cahill thread, then tie off and trim.
Step 4: Switch to olive Lagartun or UTC thread and continue building up the tapered abdomen, leaving a small amount of the light yellow butt exposed.
Step 5: Wrap the duel wires forward and tie off behind the black bead and trim both thread and wire.
Step 6: Coat entire abdomen with a liberal amount of Loon UV Knot Sense and set using UV light. This will immediately set up hard, but may have a slightly matt finish, so coat with thin layer of Hard-as-Hull head cement.
Step 7: Tie on legs using 3 or 4 fibers of Gadwall flank feather on either side.
Step 8: Tie in some exceptionally bushy, dark grey ostrich herl and wrap forward.
Step 9: Create small dubbing rope using Dave Whitlock SLF Hellgrammite.
Step 10: Wrap dubbing rope up to the black bead and whip finish. Apply small amount of head cement over knot.
Watch the tying video:
No comments:
Post a Comment
Note: Only a member of this blog may post a comment.